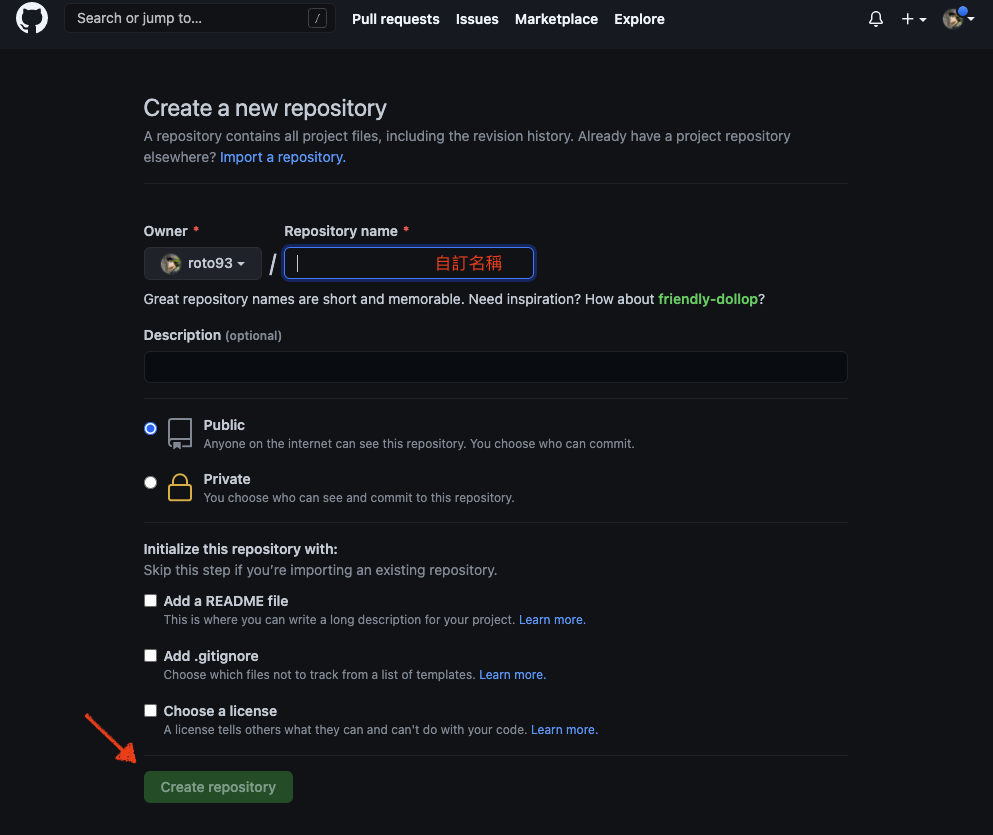
最近研究如何在 react native 中使用 firebase
在幾乎不知道 firebase 是什麼的情形下學得還蠻有阻力的
網路上大部分都是用 bare react native 來做,像我這種用 Expo 的就會有點東西不一樣
現在稍微有點結果,紀錄一下
設定
首先
到 firebase官網 註冊帳號並新增專案
在 firebase console 新增應用程式

他會要你選擇應用程式的類型,我們選 web (這是因為我看的教學影片選這個,所以我不清楚如果選 ios 或 android 的話接下來要怎麼填,之後試試看)
輸入 app 暱稱後,會得到一組序號,接著回到你的 app 中建立 config.js
1
2
3
4
5
6
7
8
9
10
11
|
export const firebaseConfig = {
apiKey: "AIzaSyAOeSc4qw2vIjTH611d9S-Wxu48ha_DHeQ",
authDomain: "tokyo-hold-309006.firebaseapp.com",
databaseURL: "https://tokyo-hold-309006-default-rtdb.firebaseio.com",
projectId: "tokyo-hold-309006",
storageBucket: "tokyo-hold-309006.appspot.com",
messagingSenderId: "994735805040",
appId: "1:994735805040:web:c5cae5d8b32e5928459ab5",
measurementId: "G-M17RL2CVNS"
};
|
接著我們要在 App.js 中啟用 firebase
firebase 初始化
1
2
3
4
5
6
|
import firebase from 'firebase'
import {firebaseConfig} from './firebaseConfig'
if (firebase.apps.length == 0) { firebase.initializeApp(firebaseConfig) }
|
至此事前設定都完成了,接下來我們簡單演示一下用 email 做 Authentication 會用到的語法
log in 登入
首先我們要到 firebase console 去開啟 email 認證的功能:
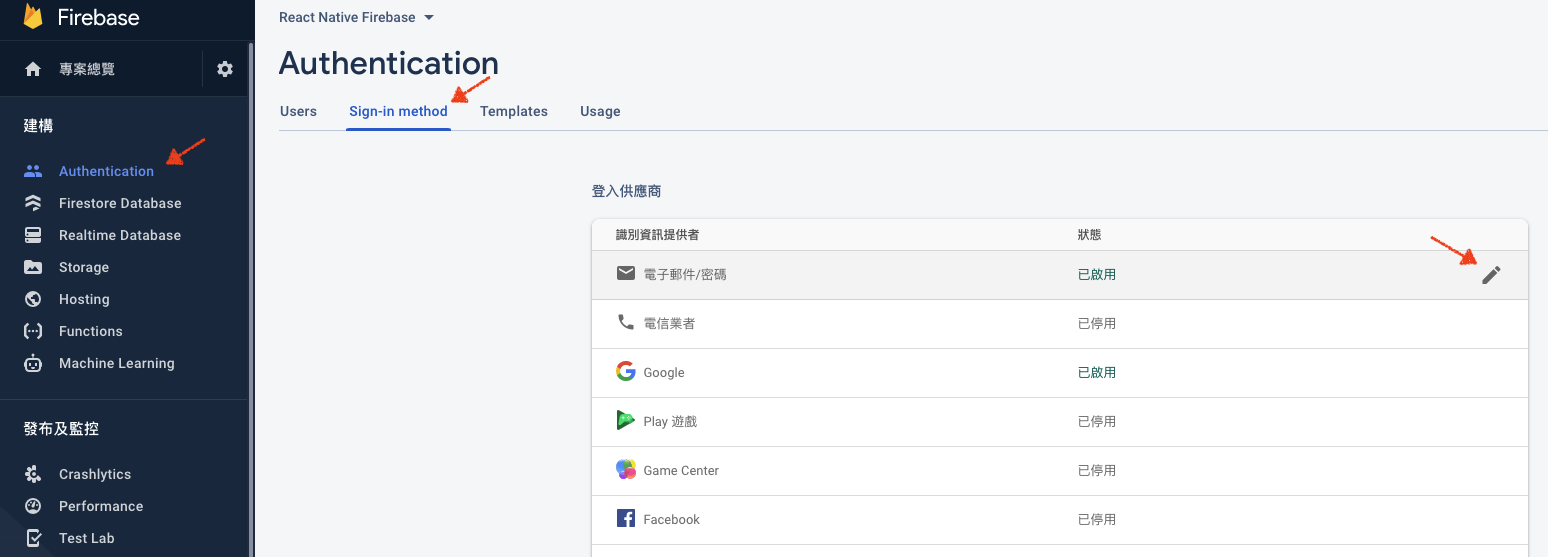
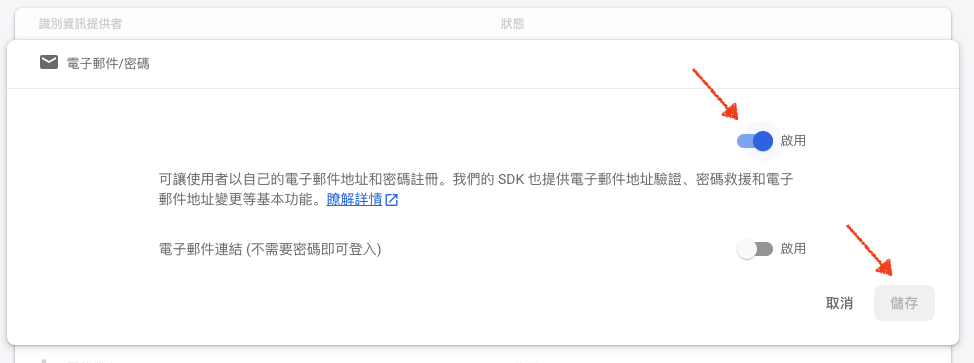
接著用 firebase.auth().signInWithEmailAndPassword()
代入用戶輸入的信箱跟密碼,就能登入了
1
2
3
4
5
6
| const auth = firebase.auth()
const onLogIn=()=>{
auth.signInWithEmailAndPassword(email, pass)
.then((result) => console.log('you\'ve logged in'))
.catch(err => alert(err))
}
|
完成後點擊 log in 按鈕會報錯,這是因為 DB 還沒有註冊任何 user
因此我們來新增 sign in 的功能
Sign in 註冊
用到的是 firebase.auth().creactUserWithEmailAndPassword()
1
2
3
4
5
6
| const onSignIn = () => {
auth.createUserWithEmailAndPassword(email, pass)
.then((resule)=>{alert('sign in successfully')})
.catch(err => alert(err))
}
|
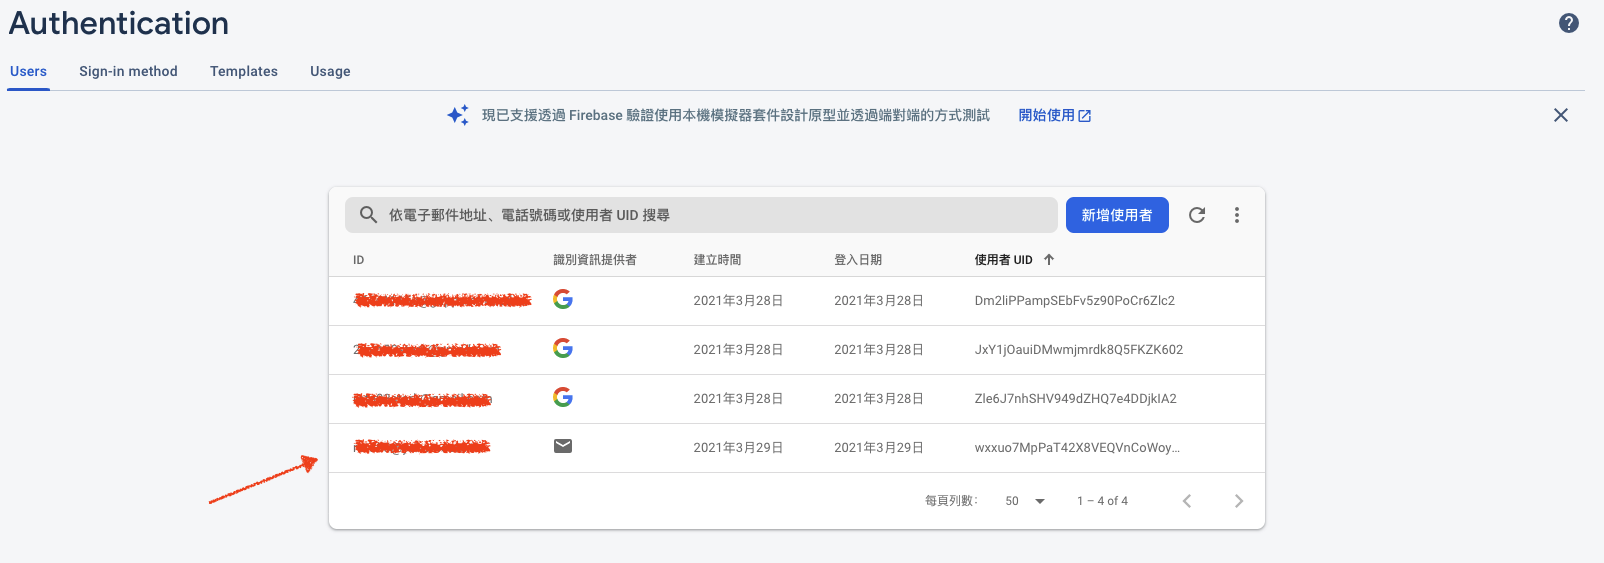
在點擊 sign in 按鈕後,如果沒報錯,在 firebase console 這邊就會看到有人註冊的資訊
sign out 登出
firebase.auth().signOut()
1
2
3
| const onSignOut = () => {
auth.signOut()
}
|
接下來我們可以判斷用戶是否有登入,在登入狀態顯示登出的按鈕,如果尚未登入,就隱藏登出按鈕
因此我們建立一個 user state listener
User State Listener 登入確認
firebase.auth().onAuthStateChanged()
這個函數定義了每次用戶狀態變更的時候(如登入或登出)要做什麼,如果用戶有登入,就會傳入 user object,反之如果未登入,user 就會是 null。
記得包在 useEffect() 內,每次渲染都讓他檢查一次
實際使用起來像這樣:
1
2
3
4
5
6
7
8
9
10
11
12
13
14
15
16
17
18
19
20
| const checkUser = () => {
const logInSetup = (user) => {
setUsername(user.email)
setIsLoggedIn(true)
}
const logOutSetup = () => {
setUsername('')
setIsLoggedIn(false)
}
auth.onAuthStateChanged(user => {
if (user) {
logInSetup(user)
} else {
logOutSetup()
}
})
}
useEffect(() => {
checkUser()
}, [])
|
delete 刪除用戶
使用 firebase.auth().currentUser.delete()
1
2
3
4
5
6
7
| const onDelete = () => {
if (auth.currentUser)
auth.currentUser.delete()
.then((result) => { setIsLoggedIn(false), alert('User has been deleted!') })
.catch(err => { setShowReAuthModal(true), console.log(err) })
}
|
需注意,刪除用戶是很危險的舉動,因此你必須在不久前登入過才能夠順利刪除用戶,如果距離你上次登入已經有一段時間了,你會需要認證用戶 (Re-Authentication)
Re-Authentication 再次登入
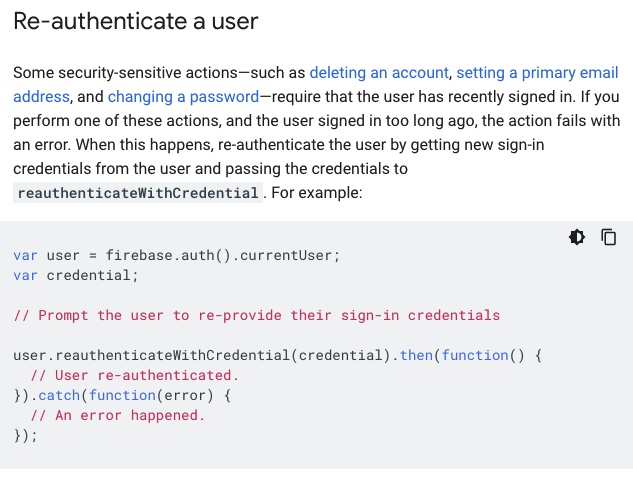
官網沒有說明 credential 要怎麼做出來
查了一下網路,原來要用 firebase.auth.EmailAuthProvider.credential(email, password)
注意是 auth 不是 auth()
1
2
3
4
5
6
7
| const onReAuth = () => {
const credential = firebase.auth.EmailAuthProvider.credential(
auth.currentUser.email,
confirmPass
);
auth.currentUser.reauthenticateWithCredential(credential).catch(err => alert(err))
}
|
恭喜你目前為止已經學會基本的登入了
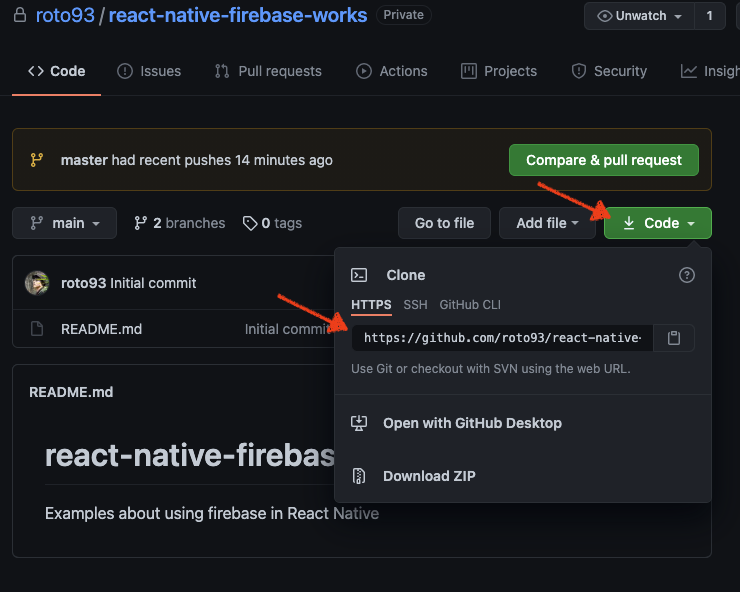
可以到 這上面 看看我做的範例
之後我會把 facebook、google 認證方式一併整理上來。
